Pet supplies in the product photography are one of the challenging products you can go for. Different products have different packaging and lighting, and other factors can play an important role.
If you are carrying out pet supplies photography, you must keep many things in mind to help you. Here are many tips that will help you photograph pet supplies.
1. Understanding the Packaging Material and Effect of Light On It
Before starting with anything, you must see the product you need to photograph. Some products are in plastic bags, while some are in tin containers and other packaging. Therefore, you need to see how the light would react to it.
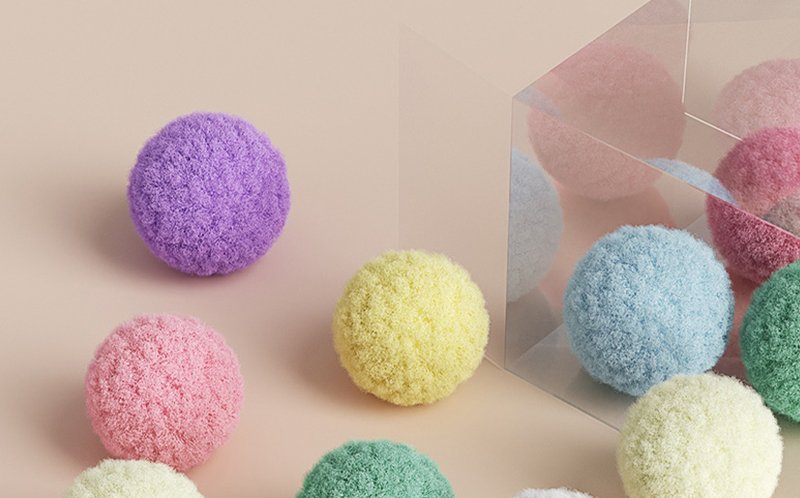
The most challenging packaging material for you would be the tin container. Tin easily reflects light, and glares can appear in your photograph if you haven’t positioned it well enough.
Using a reflector in such a situation will help you ensure that the light doesn’t ruin the photographs. Reflector cards will soften the light and prevent it from hindering the results.
2. Choosing A Suitable Light Source
Be it any photography, you will always be hot with two light options: natural oror artificial. Pet supplies packaging is mostly very colorful and bright, which would make you decide the source of light you need to choose.
Natural lighting is a bit difficult to control, and you need to have many things in hand to help you if anything goes wrong. For example, reflectors will help you the most in natural lighting.
But there is no doubt that natural light provides a soft effect and helps bring out the true result of the colors.
On the other hand, artificial lighting is perfect for shooting indoors. It will help you set everything as you like and how it reacts on the packaging.
However, make sure the light doesn’t hit at a direct angle to your product.
3. Camera Equipment
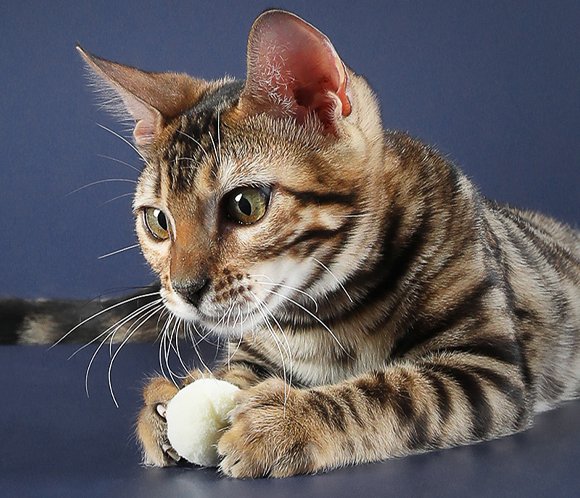
You may have everything in place, but nothing will turn in your favor if you don’t have suitable camera equipment. Pet supplies photography may require other equipment, but a camera is also very important.
You can use any professional camera; a specialized lens will help you greatly. The best lens to use is a 135mm one. You can go for any brand in this lens range. It is all up to you to go for the brand you like.
This lens will help you get a more in-depth result and a clear, smooth product photograph. In addition, with the lens, a professional tripod would help you too.
It avoids camera shake, and that can save you from taking multiple photographs. Every piece of equipment is going to help you in the best way possible.
However, don’t forget to understand the camera settings and how things work. You don’t want to do anything wrong.
4. Setting up The Right Background
Different products require different types and colors of background for you to photograph them perfectly. For example, in jewelry photography, you must have either a dark or a bright background. Nothing in between would work in jewelry photography.
But things are different in pet supplies photography. The background is one of the easiest things to change and set up in pet supplies photography.
Keep in mind to set up the background in the same color as the product, but not the same tone or shade of that color. So a slightly lighter tone or shade of that color would be perfect here.
It will give a good contrasting look.
5. Never Only Show The Packaging
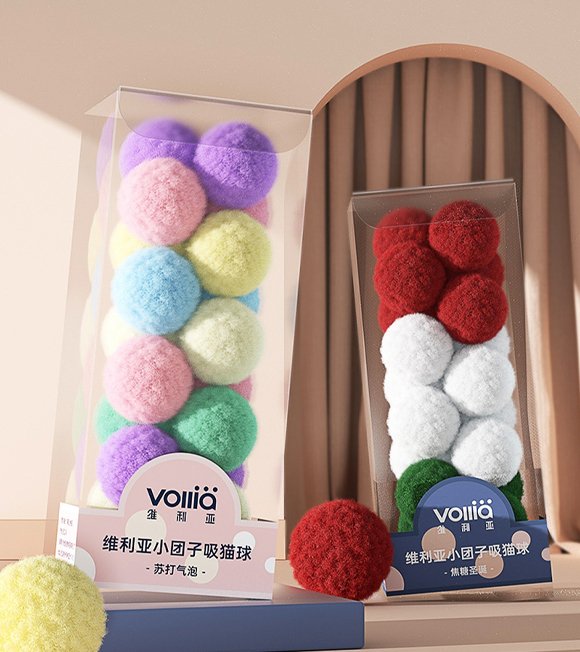
This is one of the biggest mistakes photographers make for pet supplies. Of course, no one would be interested in seeing the product packaging. But, unfortunately, that wouldn’t motivate the customers to buy it.
Therefore, if it is pet food, take some pieces and set them up in front of the package. Make sure to set it up in an appealing manner. This would give the customers a look at how the food is and whether it would be suitable for their pets or not.
You can create a tower with food or some symmetrical designs. After that, it is all your creativity how you would want to set it up.
However, don’t forget to show the actual product in your photographs.
6. All A Game of Props
Yes, props will help you create some beautiful and attractive photographs of your product. However, the props game mainly depends on the pet supply you are working on.
If it is a pet food of any flavor, you use it as a prop. For example, if your product is tuna fish biscuits, you can place a prop fish with some seaweed in your setup.
In addition, a sea blue background would work perfectly in this. Find props that will help your customers connect with the product. The prop should be relevant to your product in the best way.
Another example would be placing a pet hair brush next to a pet shampoo bottle. Think like this, and you will easily find the props that will help you the most in this.
That was all about the props related to your product. Another thing you can use is setting up your product on a tray. You can use a wooden round tray or anything that would look slightly different.
7. Why Don’t Have A Pet In The Photograph
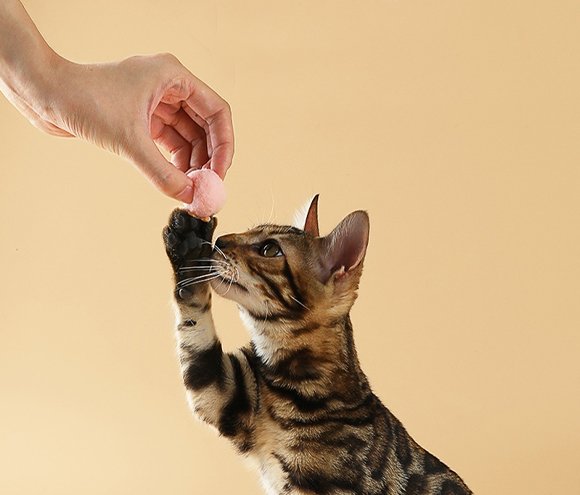
If you are carrying out pet supplies photography, why not use an actual pet in your photographs? Yes, it would be great to have an actual pet.
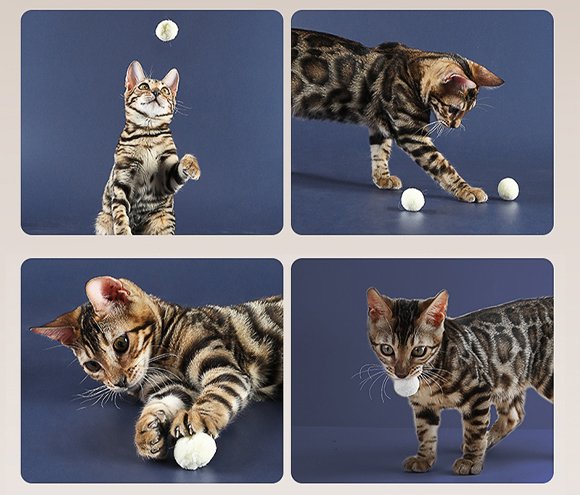
It will help you connect with the viewers of the photographs and find them appealing. Make sure to use some of the common and friendliest breeds of pets. This increases the chances of the viewer having the same breed.
And if they do, you won’t have to worry about them not connecting with your photograph. In addition, if it is a pet accessory product, you have a pet model as you can make them wear it.
This will show how great it looks on a real-life pet. Using a pet technique will surely help you a lot in this.
8. Try To Use Warm Colors
You may have noticed using only cool light colors in many pet supplies as a photographer. Yes, that may be appealing but can be monotonous if all your photographs have the same shade of color.
Therefore, try warm colors but make sure they are not too dark. For example, orange, yellow, or any other woody colors will perfectly affect your photographs.
9. Never Use The Same Color Throughout The Picture
Using the same color throughout the entire picture makes it difficult to distinguish between the product and the background. Also, post-production editing can be a bit difficult if all the colors are the same.
Yes, you can use the same color, but a different shade would be perfect in such a way.
10. Try Different Angles
One common mistake in pet supplies photography we have noticed is that everyone photographs keep the product in front of them. Placing the product at a straight angle looks a bit boring now. But, unfortunately, everyone photographs products like that nowadays.
So why not try different angles and see which one would look perfect? Again, the same product but different angles will help you a lot to learn about why you would need to try various angles.
Try laying the product on the floor with a good background and everything set as you want. And try taking some photographs from the top angle.
Yes, it may be difficult for you to understand such an angle to set up the lighting and other equipment. But the more you take photographs from different angles, the easier it will get for you to understand everything.
Therefore, various angles will help you improve your skills and learn a lot about pet supplies photography by yourself.
11. Outdoor Photography Is Good For Accessorize Only
Pet Supplies means all the products related to a pet. However, the accessories photography in an outdoor setup would be great.
Make sure to carry it out in a lush green garden with some trees and bushes. Other than accessories, you can photograph different toys as well.
However, you need a helping hand to ensure the toys are in position. In addition, make sure the pet is already familiar with the toy before the shoot. So when you place the toy and pet in the setup, it starts playing with it, and you will get some cute photographs.
If the pet isn’t familiar with the toy, it will take him a lot of time to get used to it. And you don’t want photographs where the pet is scared of the toy.
This would take a lot of time and turn into a frustrating photoshoot. Instead, you need to show how the pet interacts with the toys.
It is best outdoor because the pet will have an open atmosphere, and fresh air will help him get familiar with everything. Not only that, you will get yourself some natural colors and lighting.
But remember to carry out the photography session during the golden hour or before that. Don’t photograph when the sun is shining bright as it will make your task difficult.
12. Create Some Action
You don’t have to take pet product photos with still objects. Instead, you can create action in your pictures to add drama and flair. For example, You can interact with pets.
This is where you can get your creative juices flowing and decide what you want to shoot and how you want to do it. You can also pour the food products into a pet food plate and photograph it right now.
Post Production Tips
The photography doesn’t only end when you are done taking photographs. There is still a lot left for you to do and go through. During the photography, you may get yourself some great photographs. But there are many things left to do.
Editing after the photography session is one of the most important tasks for you to carry out. It will help you improve your photographs’ colors and ensure nothing is wrong in any picture. It is like revising everything before submission. Here are some tips to help you edit.
1. Use Photoshop Only
Many premium software available can help you edit your photographs and fix the colors. However, Photoshop undoubtedly is the best one you can use. It offers you countless options and features that you can use to improve your pictures.
2. Try Color Grading For Outdoor Photographs
Color grading is the best thing that has ever existed. The detail and color you can experience in a color-graded picture is something you will never see anywhere else.
It helps you improve colors and add details depending on the environment. It corrects all the colors and gives you an HD photograph.
3. Find A Way to Use Different Features
If you are a beginner, it may be difficult to edit the photographs. But you will not learn until you try different things. Try different features that will help you improve the color and definition of the original photograph.
It will make your photograph look appealing. But that doesn’t mean you have to post the edited photograph even if it doesn’t look good. You always have the original photograph to submit and post.
Final Words
Here is a complete guide to help you out with pet supplies photography. Make sure to keep every tip in mind as it will help you a lot in understanding this photography method.
Every small element can have a big effect on your photography process and sometimes can also ruin everything. Therefore, ensure there is nothing that can make your efforts go to waste. Photography can be a challenging task, but you will practice, and you will get to learn everything.
So don’t get disappointed if things in the start don’t go your way.

